Titanium Ring: Difference between revisions
No edit summary |
mNo edit summary |
||
| (10 intermediate revisions by 2 users not shown) | |||
| Line 3: | Line 3: | ||
A few of you were curious to see pictures about my titanium-ring adventure. | A few of you were curious to see pictures about my titanium-ring adventure. | ||
Some of these pictures were made by Norm and posted to the hacklab twitter. I copied them here. (Thanks for the pictures Norm!) | |||
Some of these pictures were made by Norm. Thanks Norm! | |||
The source material: | The source material: | ||
[[File:InanimateTitaniumRod.jpg]] | [[File:InanimateTitaniumRod.jpg|800px]] | ||
Just faced the outside! Ready for drilling! | Just faced the outside! Ready for drilling! | ||
[[File:DrillLathing.jpg]] | [[File:DrillLathing.jpg|800px]] | ||
Drilling! This gets hot! (Picture from the hacklab twitter posted by Norm) | |||
[[File:DrillTemperature.jpeg|800px]] | |||
Using the boring bar! It's worth noting that Titanium CAN catch fire in a lathe!! | |||
Thus, it's essential to keep things cool with the coolant and to clear the titanium hairs. | |||
My big time-waster was not finding a way to shorten the stock before starting my adventure. Everytime I did something, runout would build into the spin. (from 0.005" to a millimeter it seems) This would lead to an inconsistent loading on the tool, and perhaps the impacts of the tool leaving and hitting the titanium were hardening it and causing the chatter to build. | My big time-waster was not finding a way to shorten the stock before starting my adventure. Everytime I did something, runout would build into the spin. (from 0.005" to a millimeter it seems) This would lead to an inconsistent loading on the tool, and perhaps the impacts of the tool leaving and hitting the titanium were hardening it and causing the chatter to build. | ||
I ended up figuring out a strategy though! If I advanced the tool position (radius of the ring) while the boring bar is inside the ring cavity | I ended up figuring out a strategy though! If I advanced the tool position (radius of the ring) while the boring bar is inside the ring cavity the chatter was much reduced! | ||
[[File: | |||
Thus, I could proceed. 0.002" at a time!!! | |||
[[File:LatheTitanium.jpg|800px]] | |||
Here's the product fresh off the lathe! | |||
[[File:TitaniumRingCoarse.jpg|800px]] | |||
So, at this point, I got the ring. Put it on. | |||
OWWWWWWW | |||
It was too small, and I hadn't deburred it. Someone wise said something important about patience once, but I didn't stick around to hear it! | |||
My parting tool had left a small ledge too. (oops! Hadn't sharpened it quite square!) | |||
Fortunately, Sen was around and advised soap as a means to remove the ring. (Is there anything Sen doesn't know?) | |||
So, I need to expand my ring. How is that done? | |||
This is how: | |||
[[File:WideningTheRing.jpg|800px]] | |||
I heated it up with the Propane torch, let it slide down the mandrel, tapped it a few times, bingo!! | |||
In the process the oxide layer changed colours on the ring. Some yellow, some purple, pretty cool! One day, it'd be neat to try to see if it's possible to etch a certain colour with the laser cutter. (I imagine I'd run a coolant along the inside diameter of the ring to keep only the surface getting burned by the laser hot) | |||
I needed to flatten out the edges. Did that with varying grits of sandpaper. | |||
This is how lazy people polish rings: | |||
[[File:PolishingTheRing.jpg|800px]] | |||
That's a piece of foam I shoved the ring on. Then stuffed it into a drill bit. Then held some high-grit sandpaper to the spinning deely. | |||
Now it works great! | |||
[[File:FinalRing.jpg|800px]] | |||
I have a friend that said. "It looks like it was made by someone that almost knew what they were doing!" | |||
The runout resulted in a difference in concentricity between the outer and inner diameters of about 0.005"! However, it kindof looks intentional! | |||
In the picture above, you'll see some markings inside. That's a combination of the chatter-marks from the boring, and leftover purple from the torch that didn't get removed in the troughs. | |||
[[Category:Member Projects]] | |||
Latest revision as of 19:03, 22 August 2014
Hi Folks!
A few of you were curious to see pictures about my titanium-ring adventure.
Some of these pictures were made by Norm and posted to the hacklab twitter. I copied them here. (Thanks for the pictures Norm!)
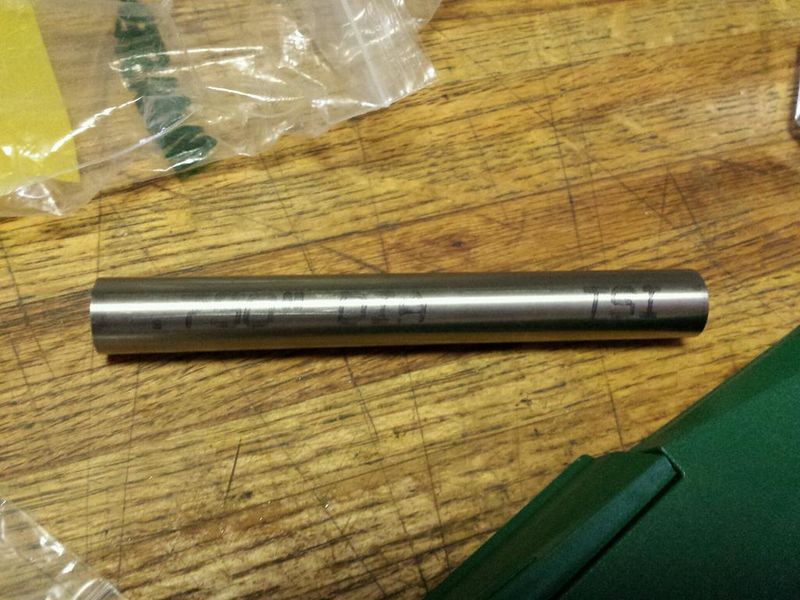
The source material:
Just faced the outside! Ready for drilling!
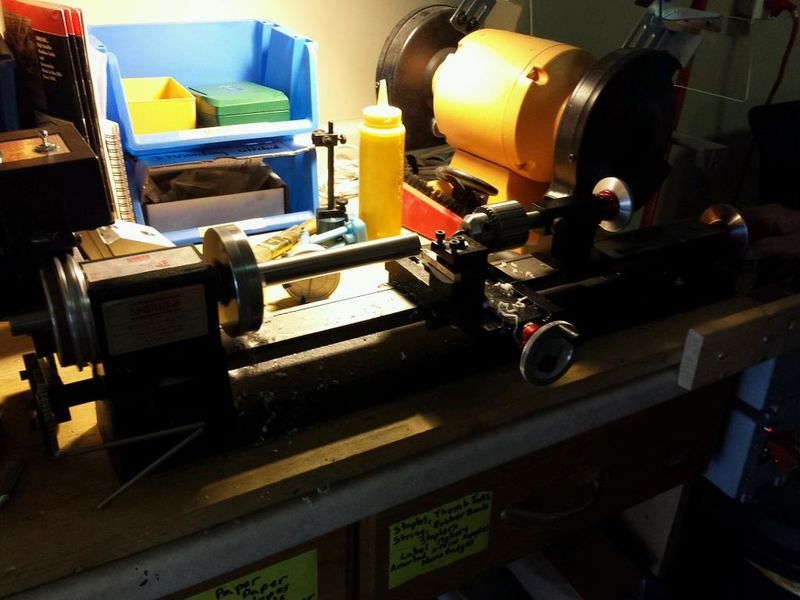
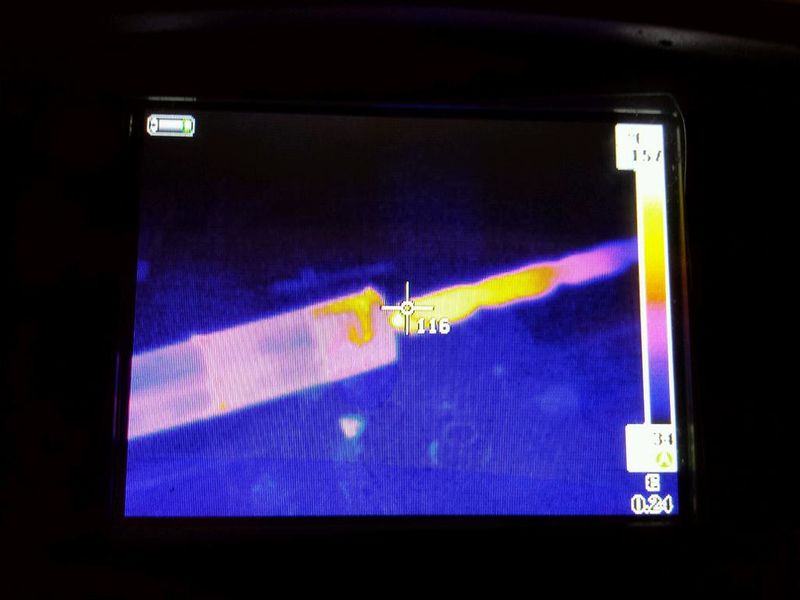
Drilling! This gets hot! (Picture from the hacklab twitter posted by Norm)
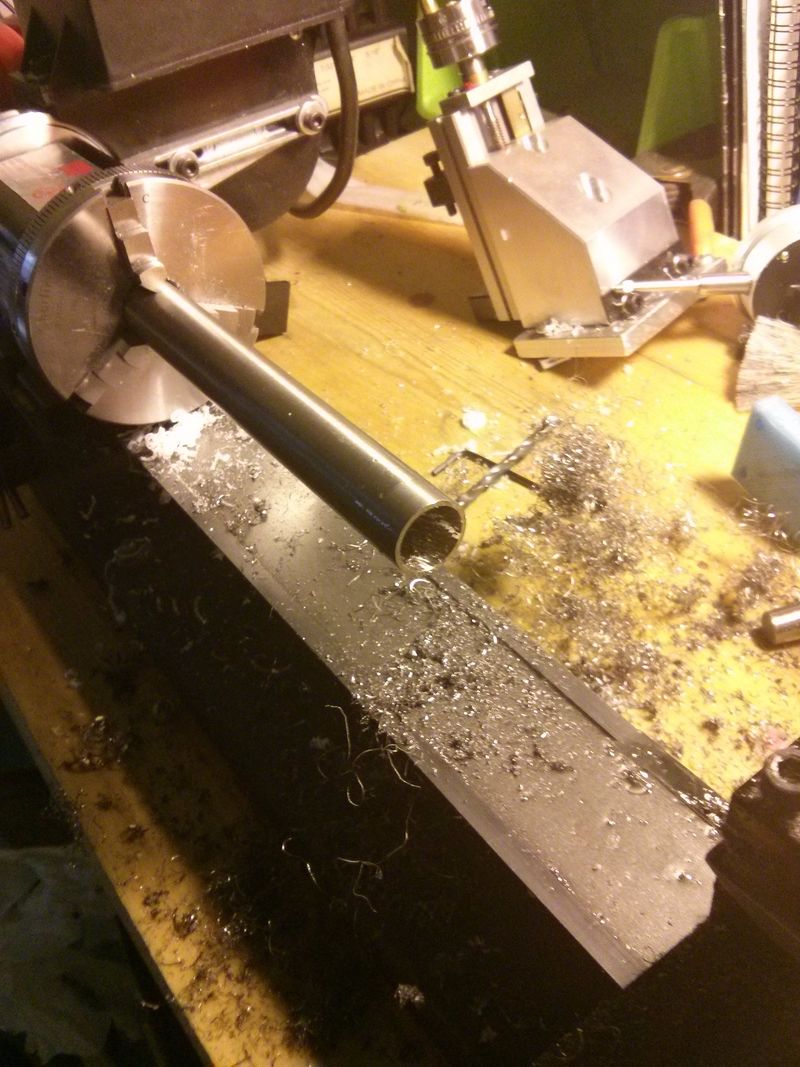
Using the boring bar! It's worth noting that Titanium CAN catch fire in a lathe!!
Thus, it's essential to keep things cool with the coolant and to clear the titanium hairs.
My big time-waster was not finding a way to shorten the stock before starting my adventure. Everytime I did something, runout would build into the spin. (from 0.005" to a millimeter it seems) This would lead to an inconsistent loading on the tool, and perhaps the impacts of the tool leaving and hitting the titanium were hardening it and causing the chatter to build.
I ended up figuring out a strategy though! If I advanced the tool position (radius of the ring) while the boring bar is inside the ring cavity the chatter was much reduced!
Thus, I could proceed. 0.002" at a time!!!
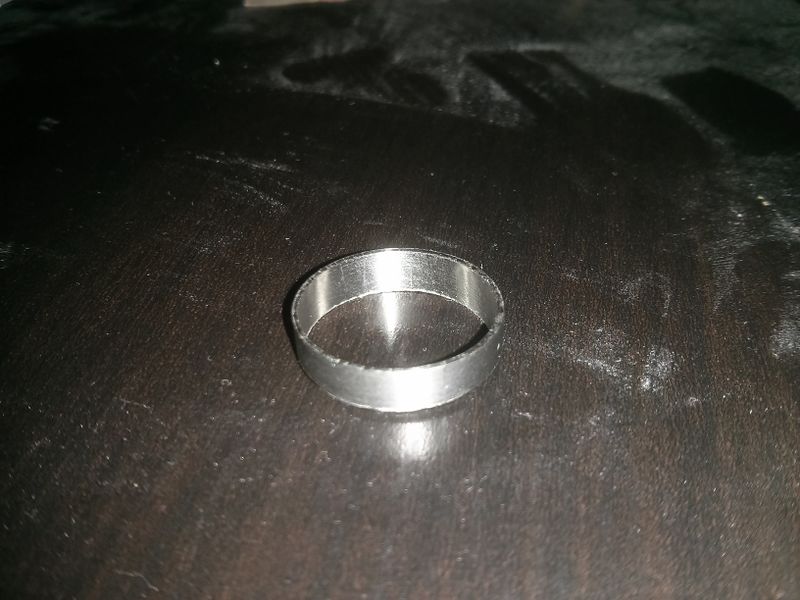
Here's the product fresh off the lathe!
So, at this point, I got the ring. Put it on.
OWWWWWWW
It was too small, and I hadn't deburred it. Someone wise said something important about patience once, but I didn't stick around to hear it!
My parting tool had left a small ledge too. (oops! Hadn't sharpened it quite square!)
Fortunately, Sen was around and advised soap as a means to remove the ring. (Is there anything Sen doesn't know?)
So, I need to expand my ring. How is that done?
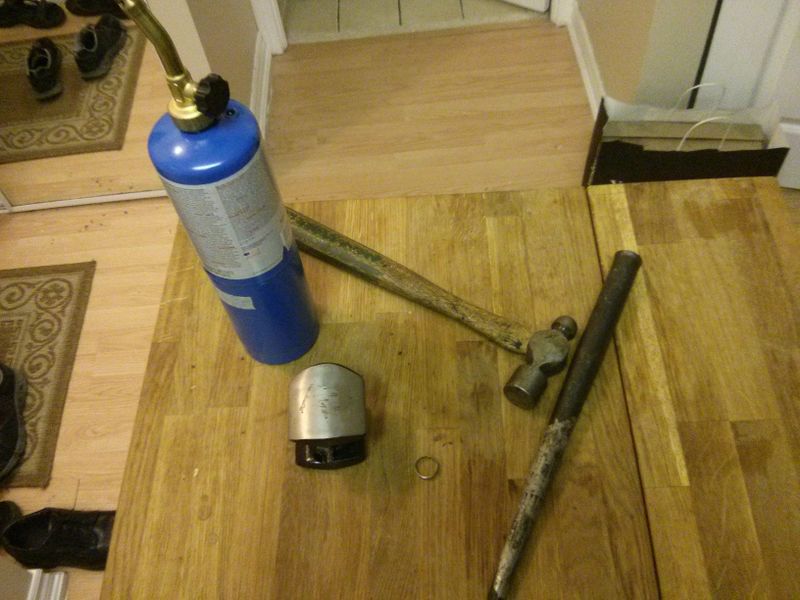
This is how:
I heated it up with the Propane torch, let it slide down the mandrel, tapped it a few times, bingo!!
In the process the oxide layer changed colours on the ring. Some yellow, some purple, pretty cool! One day, it'd be neat to try to see if it's possible to etch a certain colour with the laser cutter. (I imagine I'd run a coolant along the inside diameter of the ring to keep only the surface getting burned by the laser hot)
I needed to flatten out the edges. Did that with varying grits of sandpaper.
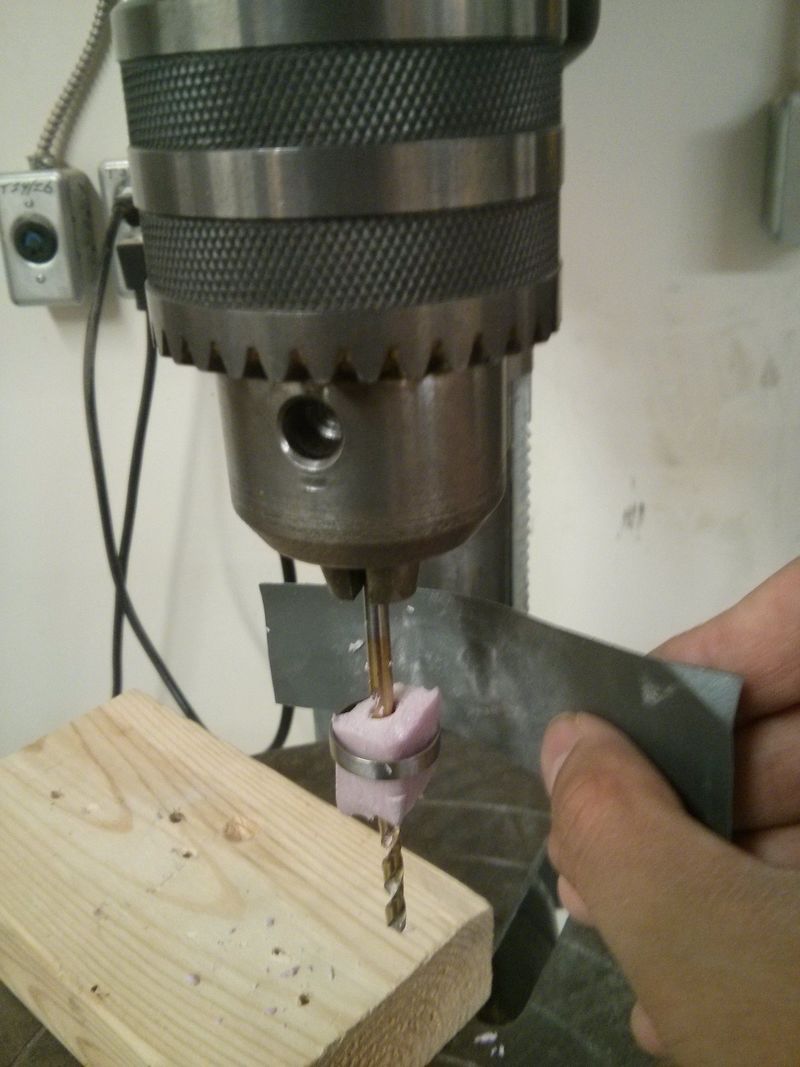
This is how lazy people polish rings:
That's a piece of foam I shoved the ring on. Then stuffed it into a drill bit. Then held some high-grit sandpaper to the spinning deely.
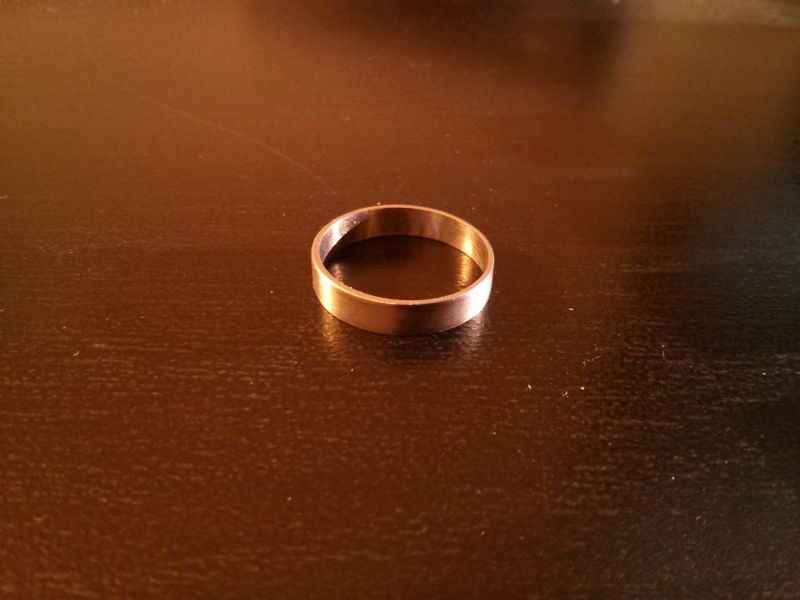
Now it works great!
I have a friend that said. "It looks like it was made by someone that almost knew what they were doing!"
The runout resulted in a difference in concentricity between the outer and inner diameters of about 0.005"! However, it kindof looks intentional!
In the picture above, you'll see some markings inside. That's a combination of the chatter-marks from the boring, and leftover purple from the torch that didn't get removed in the troughs.
