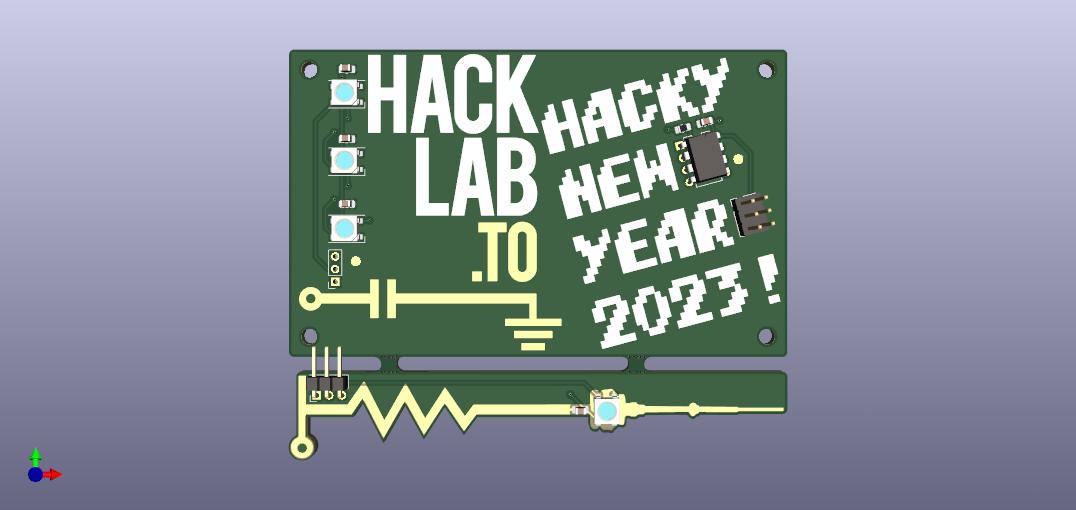
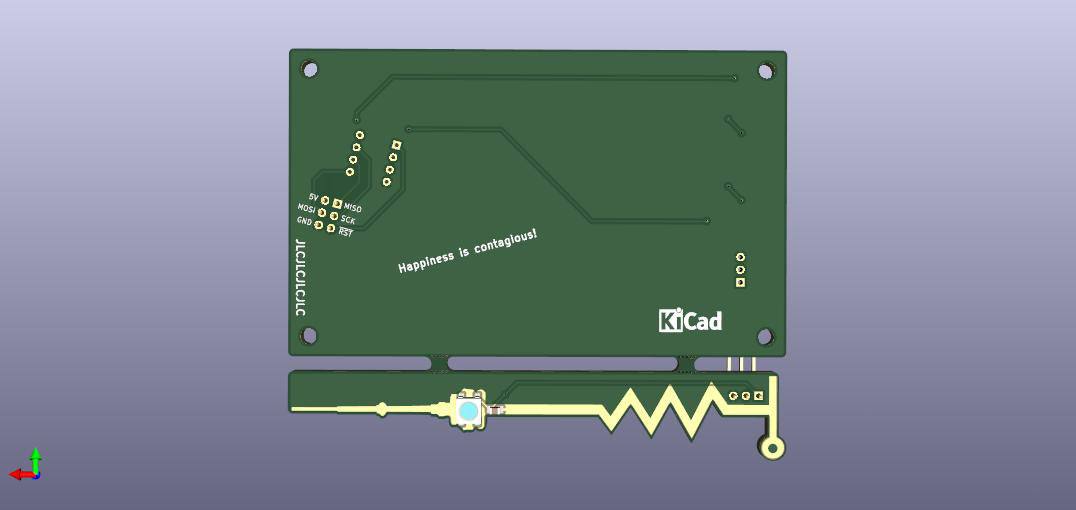
Hacky New Years/2023
Hacky New Years 2023 Plaque
Assembly Instructions
Included Parts
- 1x PCB Panel
- 1x 3x2 0.1" Pin Header
- 1x 3x1 0.1" Right Angle Pin Header
- 1x ATTINY25 MCU (pre-programed)
Through Hole Soldering
All surface mount components come presoldered to the PCB, but there are some through hole components need to be added to complete assembly.
- Solder down ATTiny25 micro controller.
This should already be taped down to your PCB panel in the correct orientation, but verify the chip orientation matches that of the silkscreen. ToDo: Photo
- Solder right angle header to 'CN-Tower-Resistor' PCB
- Solder programming header to Main PCB (Optional)
- Separate 'CN-Tower-Resistor' PCB and Main PCB
- Solder'CN-Tower-Resistor' PCB perpendicular to Main PCB
FAQ
- Q: How do we power the Plaque?
- A: Provide regulate 5V programming header, either via the pin header if installed, or soldered directly to the vias if you choose to leave it off. Since ever hacker space is a bit different we left it as an exercise to those spaces.
Design & Credits
- Matt Woodruff - PCB Design, PCB Population, ATTiny Programming
- Trent Drake - Graphics & Board Outlines
- Scott Sullivan - Project Catalyst, Documentation, Kit Assembly, Shipping
- Troy Denton - Circuit / PCB Design Review
- Vincent Marino - ATTiny LED Library Research
With thanks to Gary and other Hacklab members whom provided input during the design process.

